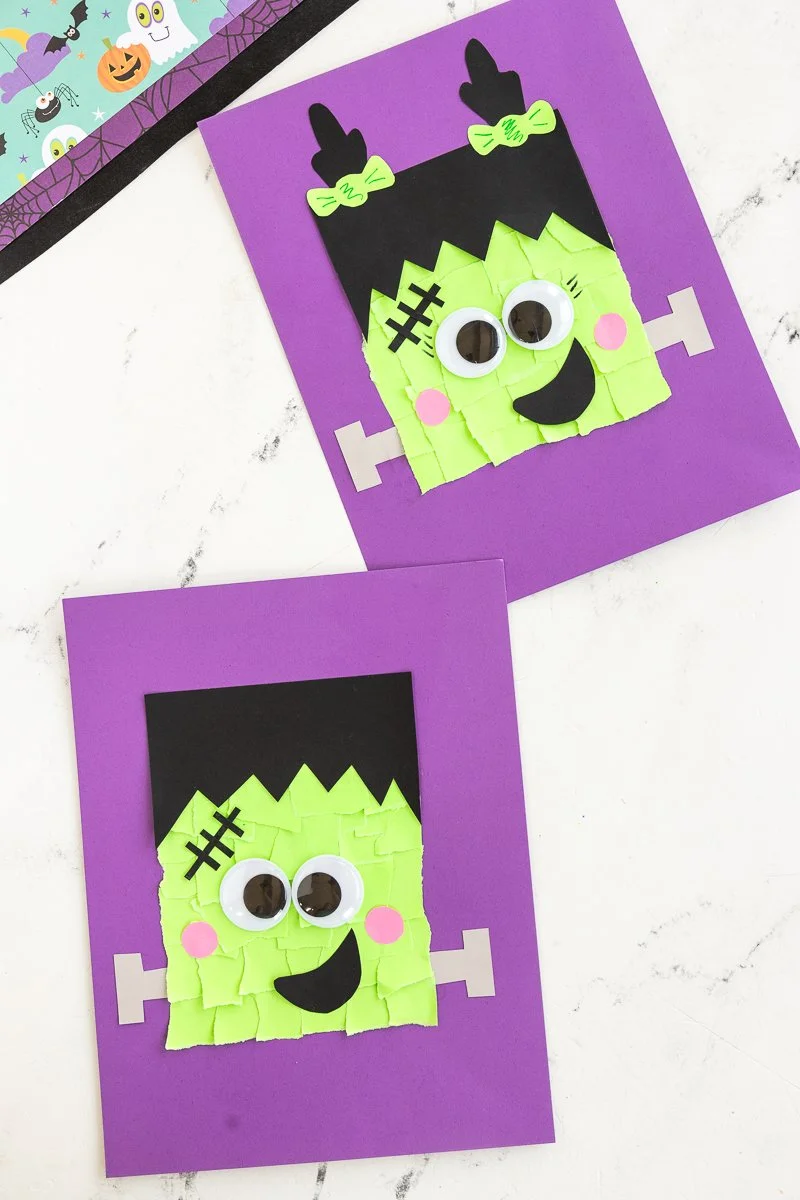
The Torn Paper Frankenstein is an easy DIY craft that allows you to create a fun and vibrant monster using basic materials. This project is a fantastic way to unleash your creativity and perfect for beginners of all ages looking for cute Halloween decorations, party crafts, or just simple crafts to enjoy at home. Whether you are working alone or with a group, this craft shines with its simple steps, affordability, and charming results.
WHY YOU WILL LOVE THIS Torn Paper Frankenstein
Making the Torn Paper Frankenstein is a great way to engage with a creative DIY project that is both easy for beginners and highly enjoyable. Here are some benefits you’ll find with this fun craft:
- Easy for beginners: The steps are straightforward, making this a perfect beginner-friendly craft.
- Uses simple materials: Most of the materials can be found around your home or easily obtained, making it a budget-friendly DIY.
- Quick to make: This project can be completed in about an hour, allowing you to make several creatures in one sitting.
- Great for home decor: The finished product can brighten up your space during Halloween or any time of year when you want a fun decorative touch.
- Easy to customize: With endless options for colors and accessories, you can make a unique version of Frankenstein every time!
PROJECT DETAILS
Skill Level
Beginner
This project is perfect for beginners. The techniques used, like tearing paper and gluing, are simple and easy to master.
Estimated Time
1 hour
You can complete this craft in about an hour, from start to finish, making it a quick and enjoyable activity.
Approximate Cost
$10 or less
Most of the materials required are inexpensive or can be found at home, making this a budget-friendly craft option.
Best For
Kids and adults alike
This craft is enjoyable for individuals of all ages, including kids, who can participate with adult supervision, making it a great family activity.
Project Type
Holiday craft
The Torn Paper Frankenstein is ideal for Halloween, but it can also be used as colorful decor for parties or themed events throughout the year.
TOOLS AND EQUIPMENT NEEDED
Scissors
Scissors are necessary for cutting out shapes from the paper materials, such as the hair and accessory parts of Frankenstein.
Glue Stick
The glue stick is needed to attach all the different paper pieces together securely. It’s easy to use and mess-free, perfect for kids.
MATERIALS
Free Frankenstein Template
The template provides a guide to create Frankenstein’s shape and facial features on your cardstock. This makes the shape consistent and easy to replicate.
Purple Cardstock
This forms the base of Frankenstein’s face. Purple cardstock is chosen for its vibrant color that makes a great backdrop for your monster.
Lime Green Paper
This paper will be torn into small pieces to create Frankenstein’s face, adding texture and character to your craft.
Black Paper
Black paper is used for Frankenstein’s hair and facial details, like the smile and eyebrows, providing a bold contrast to the lime green.
Gray Paper
Gray paper is used to create Frankenstein’s bolts. It adds an extra detail to personalize the appearance of your monster.
Googly Eyes
Googly eyes bring personality to your Torn Paper Frankenstein. They are fun and engaging, making your monster come to life.
Pink Paper
This paper is used for rosy cheeks, giving your Frankenstein a friendly touch rather than a spooky one.
Black Marker
The marker can be used for outlining or adding extra details to your Frankenstein, like stitching scars or other fun accents.
HOW TO MAKE Torn Paper Frankenstein
Step 1: Draw the Face Shape
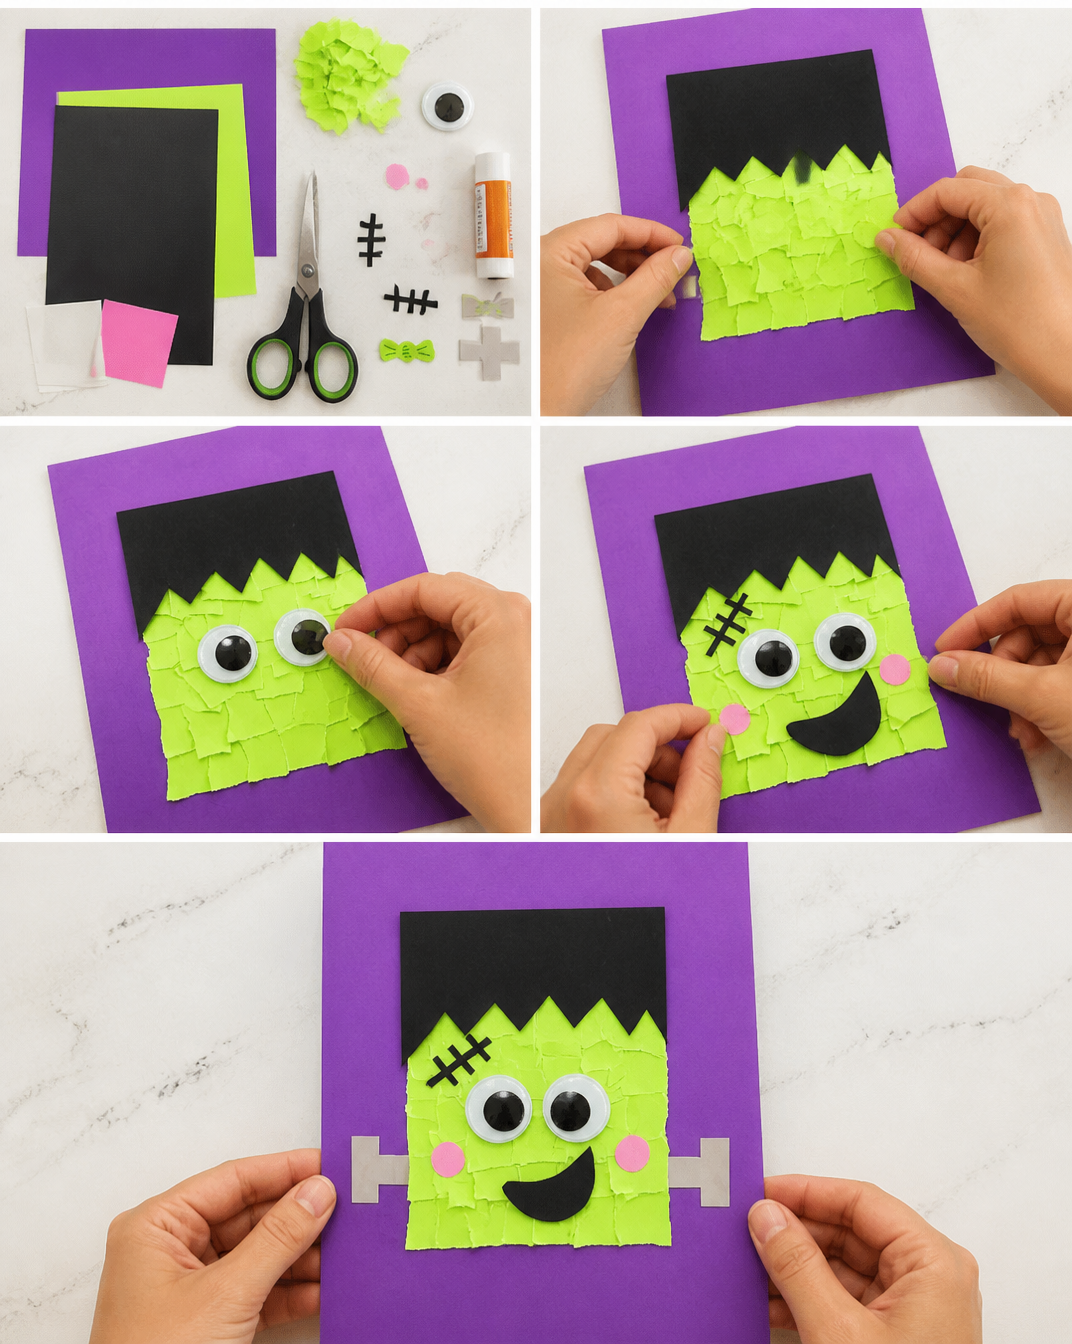
Using the Frankenstein template, draw a square or rectangular shape on the purple cardstock. Make sure the shape is big enough to fit features like the eyes, mouth, and hair.
Step 2: Create the Face
Tear the lime green paper into small pieces. Start gluing these pieces inside the face shape drawn on the purple cardstock, covering all the purple until only the outline remains visible.
Step 3: Add the Hair
Cut out a jagged shape from the black paper to represent Frankenstein’s hair. Glue it to the top of the green face shape, ensuring it overlaps slightly to give it a fuller appearance.
Step 4: Make the Bolts
From the gray paper, cut out two bolt shapes and glue them on either side of Frankenstein’s head, making sure they are securely attached.
Step 5: Assemble the Face
Glue the googly eyes onto the green face. Then, use small circles of pink paper for cheeks and glue those below the eyes. This will add a cute touch to your monster.
Step 6: Personalize Your Monster
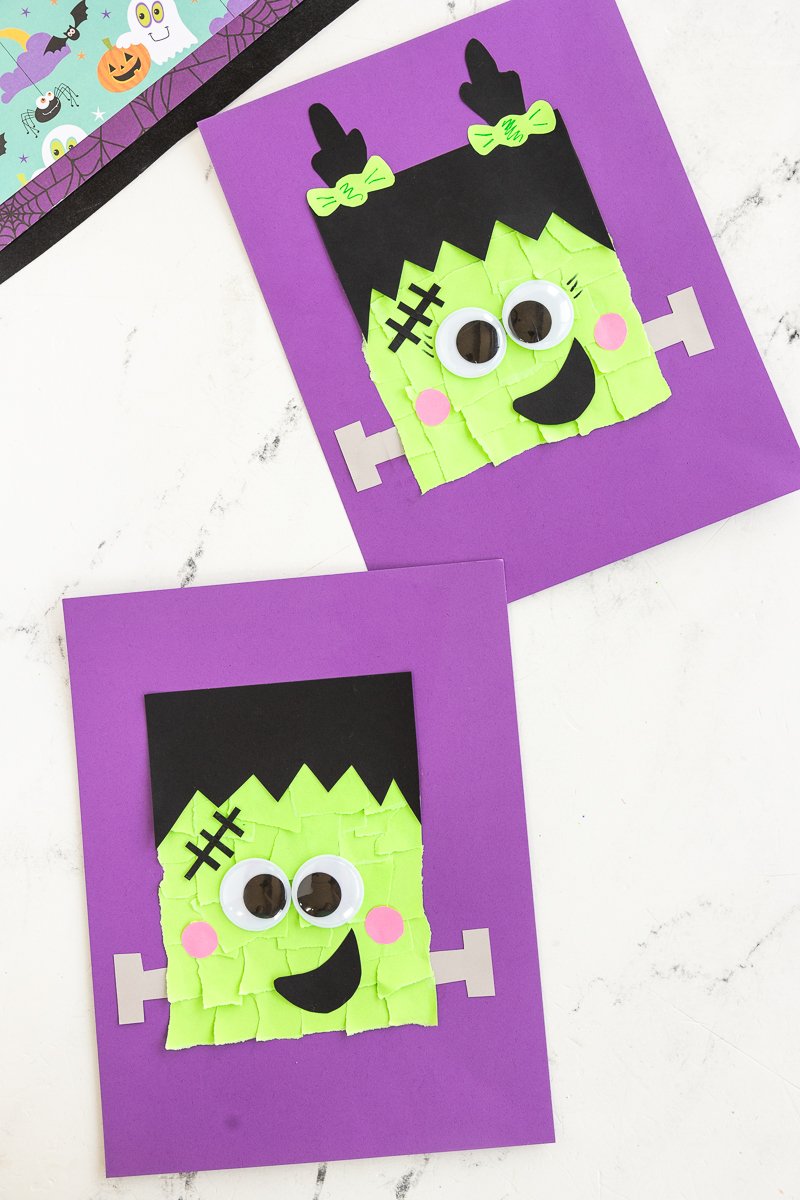
Feel free to get creative! Add bows, hats, or other accessories to your Frankenstein. You can use different colors and textures to enhance your design further.
TIPS AND TRICKS
- Choose materials wisely: Look for scrap paper around the house. Upcycled crafts not only save money but are also environmentally friendly.
- Cut with precision: When using scissors, ensure you cut along the lines carefully for a neat finish.
- Avoid glue mess: Use a glue stick instead of liquid glue to avoid excess mess that can dampen the paper and make it saggy.
- Secure pieces properly: Ensure each piece is glued down firmly to withstand handling, especially if children are involved.
- Storage: Once completed, store your Torn Paper Frankenstein in a cool, dry place to keep it looking fresh.
- Keep an eye on safety: If crafting with kids, supervise when using scissors to ensure safety.
VARIATIONS AND CUSTOMIZATION IDEAS
- Different colors: Explore using different colors for the face and hair. For example, try blue cardstock for a more unique look.
- Seasonal versions: Customize your Frankenstein for different occasions. Use orange and black for Halloween or green and red for Christmas-themed events.
- Size variation: Change the dimensions of the face by using larger or smaller cardstock that can create a variety of display sizes.
- Artistic finishes: Use paint or markers for additional detailing. Draw tiny smiles, stitches, or even a fun background scene.
- Alternative materials: Experiment with fabric instead of paper for a textured effect to make a plush version of Frankenstein.
- Themed accessories: Add Halloween-themed accessories such as a witch hat, or for a birthday party, consider birthday-themed decorations.
Torn Paper Frankenstein FAQ
Q1: Is this craft suitable for beginners?
Yes! The Torn Paper Frankenstein project is a beginner-friendly craft that requires only basic techniques like tearing and gluing.
Q2: What materials do I need?
You’ll need purple cardstock, lime green paper, black paper, gray paper, googly eyes, pink paper, a black marker, a glue stick, and scissors.
Q3: How long does it take to make the Torn Paper Frankenstein?
The project can be completed in about one hour, making it a quick and enjoyable crafting session.
Q4: How do I store my finished paper Frankenstein?
Store your finished project in a cool, dry place. You can keep it flat between books or in a small box to avoid any damage.
Q5: Can I customize the design?
Absolutely! You can customize your Torn Paper Frankenstein with different colors, accessories, and finishes to make it truly unique.
CONCLUSION
Creating a Torn Paper Frankenstein is an easy and enjoyable craft perfect for all ages. Not only is it a budget-friendly DIY project, but it also provides an avenue for creative expression while being simple enough for beginners. You can use this cheerful monster for home decor, themed parties, or as a handmade gift. We encourage you to try this craft and share your experiences or customization ideas with others. Enjoy crafting your own fun version of this iconic monster!