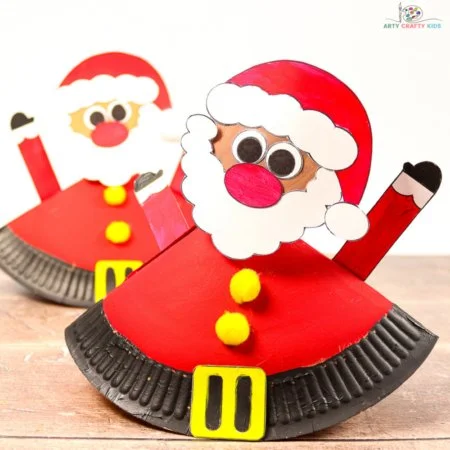
Creating holiday decorations can be fun and rewarding, especially when you choose an easy DIY project like the Rocking Paper Plate Santa! This creative DIY idea is perfect for both beginners and experts. The Rocking Paper Plate Santa is a simple craft that adds a delightful festive touch to your home decor. It also makes for a charming handmade gift or a joyful holiday decoration that kids will enjoy making. Gather your supplies, and let’s explore this engaging and budget-friendly craft!
WHY YOU WILL LOVE THIS Rocking Paper Plate Santa
You will truly enjoy making this Rocking Paper Plate Santa for several reasons:
- Easy for Beginners: This craft is designed with simplicity in mind, making it perfect for those new to DIY projects.
- Uses Simple Materials: The project only requires common, easy-to-find materials, making it accessible for everyone.
- Budget-Friendly: Most of the materials can be sourced at a low cost, or you might even have some at home.
- Quick to Make: You can complete this delightful decoration within a short time frame, making it ideal for last-minute holiday prep.
- Great for Home Decor: Place your finished Santa on a shelf, mantel, or table to add a festive touch to your home.
- Fantastic for Gifts: This handmade gift is perfect for family and friends during the holiday season.
- Easy to Customize: With a few tweaks, you can personalize your Santa to make it uniquely yours.
PROJECT DETAILS
Skill Level
This project is classified as easy, making it suitable for children and adults alike. Even if you have no prior crafting experience, you’ll find this project straightforward and enjoyable.
Estimated Time
You can expect to spend about 45-60 minutes on this craft, from start to finish. This includes preparation and drying time for the paint.
Approximate Cost
The total cost can be kept very low, roughly around $5 to $10, depending on what materials you already have at home. This makes it a perfect budget-friendly DIY project!
Best For
This craft is excellent for families, classroom activities, holiday parties, or anyone looking to add a handmade touch to their seasonal decor.
Project Type
The Rocking Paper Plate Santa falls into the category of holiday crafts and easy DIY projects, specifically designed to bring joy to your festive celebrations.
TOOLS AND EQUIPMENT NEEDED
Scissors
Scissors are essential for cutting the paper plate and any additional shapes needed for the Santa. Ensure they are sharp for clean cuts.
Glue Stick
A glue stick will be used to attach various elements like the beard, hat, and nose to create your Santa. It’s easy to use and dries clear.
Stapler
A stapler will help you secure the overlaps of the paper plate, ensuring your Santa maintains its shape while rocking.
Sticky Tape
Sticky tape is handy for securing parts of your Santa without leaving a mess. It can be used to attach the pipe cleaner to the plate.
Santa Template
A printable template will make it easier to cut out the shapes needed for Santa’s features. You can find a simple template online or create your own.
MATERIALS
Eco Paper Plate
An eco paper plate serves as the base for your Santa. The sturdy surface allows for easy painting and decorating.
Acrylic Paint
Acrylic paint will be used to bring your Santa to life with vibrant colors. In this project, red and black are primarily used.
Pom-Poms
Pom-poms add texture and fun elements to your Santa’s hat and decorations. Choose various sizes to add interest.
Pipe Cleaners
Pipe cleaners can be used to create the "rocking" feature of the Santa. They are flexible and easy to manipulate.
Santa Template
This template will guide your cuts and decorations for Santa’s face, ensuring everything comes out just right.
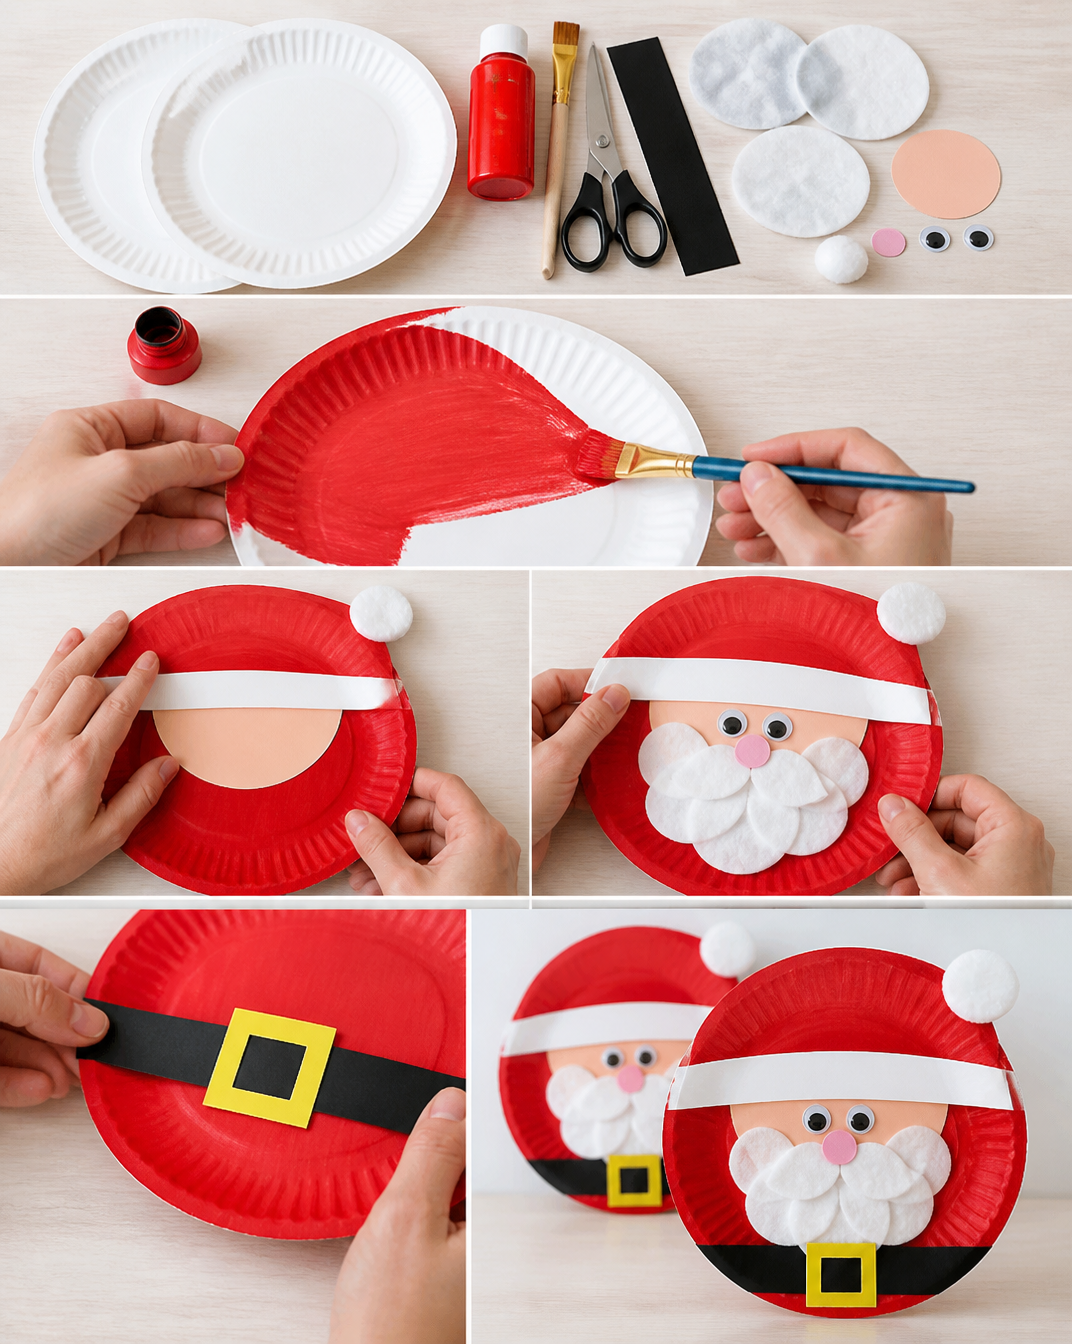
HOW TO MAKE Rocking Paper Plate Santa
Step 1: Cut the Paper Plate
Begin by cutting a line into the center of the paper plate. Make a straight line just beyond the center point, then gently fold the paper plate around to create an overlap at the center.
Step 2: Secure the Overlaps
Use a stapler to secure the overlaps. This will keep the structure firm and ensure it rocks properly later on.
Step 3: Create an Opening
Cut off the pointy tip of the paper plate to create a small opening at the top of the Santa’s head. This is where the pipe cleaner will attach.
Step 4: Paint the Plate
Once again, flip the paper plate over and paint one part red (for Santa’s outfit) while the lower, bumpy rim section should be painted black (for his belt). Allow the paint to dry.
Step 5: Prepare Santa’s Features
While the plate is drying, color in and cut out the Santa elements from the template. This includes the hat, beard, and nose.
Step 6: Assemble Santa’s Face
Glue the hat and beard together, ensuring the belt buckle is also ready. Place the red nose over the beard.
Step 7: Attach the Belt
Glue the buckle onto the black rim of the Santa’s outfit for his belt. Attach two pom-poms above the buckle to complete the look.
Step 8: Create Santa’s Arm
Fold a small area of Santa’s arm back and glue it to the back of the paper plate. This adds a friendly gesture to Santa.
Step 9: Make the Rocking Mechanism
Twist two pipe cleaners together. Coil them around your fingers to create a spring and insert part of it into the paper plate opening.
Step 10: Final Touch
Secure the pipe cleaner with sticky tape, adjust the coil for a springy effect, and attach Santa’s head to the pipe cleaner. Alternatively, glue Santa’s head directly to the plate if you prefer.
TIPS AND TRICKS
- Choosing Materials: Always opt for eco-friendly materials when possible, as they are safe for children and good for the planet.
- Cutting: Use sharp scissors for clean cuts to ensure all parts fit together seamlessly.
- Gluing: A glue stick is great for paper but ensure it is applied evenly for the best finish.
- Painting: For a smooth finish, use thin coats of paint and allow each layer to dry before applying another.
- Customization: Experiment with different colors or accessories like glitter to make Santa unique.
- Saving Money: Check your supply box at home first! You may already have some of the needed items.
- Durability: For longevity, keep the finished Santa in a safe place and avoid exposure to moisture.
- Safety: Ensure younger children are supervised during cutting and gluing to prevent accidents.
VARIATIONS AND CUSTOMIZATION IDEAS
Here are a few fun ways you can customize your Rocking Paper Plate Santa:
- Different Colors: Use various colors for the hat and belt to make different versions of Santa.
- Sizes: Try using smaller paper plates to create mini Santas.
- Alternative Materials: Instead of a paper plate, use cardboard or sturdy cardstock for a more robust option.
- Seasonal Versions: Create a snowman or gingerbread version using similar techniques.
- Different Patterns: Use patterned paper plates for a unique design.
- Texture Additions: Add fabric scraps for a textured look on Santa’s clothing or hat.
- Personalized Versions: Write names on the belt for family members to make them unique gifts or decorations.
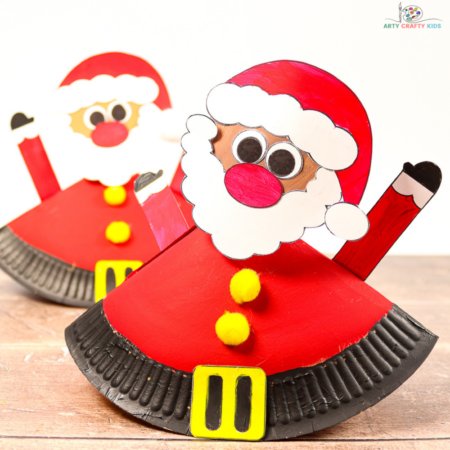
Rocking Paper Plate Santa FAQ
Is this project difficult to complete?
No, the Rocking Paper Plate Santa is designed to be easy and beginner-friendly. It requires simple cuts and gluing, making it a perfect choice for all skill levels.
What materials will I need?
You will need an eco paper plate, acrylic paint, pom-poms, pipe cleaners, a glue stick, scissors, and a printable Santa template.
How do I store my completed Santa?
Keep your finished Santa in a cool, dry place. Avoid humidity to prevent any damage to the paper plate and decorations.
How long does it take to complete this craft?
The complete project can be finished in about 45-60 minutes, including drying time for paint.
Can I customize my Rocking Paper Plate Santa?
Absolutely! You can use different colors, patterns, and materials to create a Santa that reflects your unique style.
CONCLUSION
The Rocking Paper Plate Santa is a fantastic easy craft project that brings joy and creativity to your holiday celebrations. It’s perfect for families, beginners, or anyone who enjoys seasonal crafts. With simple materials, quick assembly, and the joy of creativity, this DIY home decor project is a great way to connect with loved ones during the festive season. So gather your supplies, unleash your creativity, and share your finished project or customization ideas with others! Happy crafting!