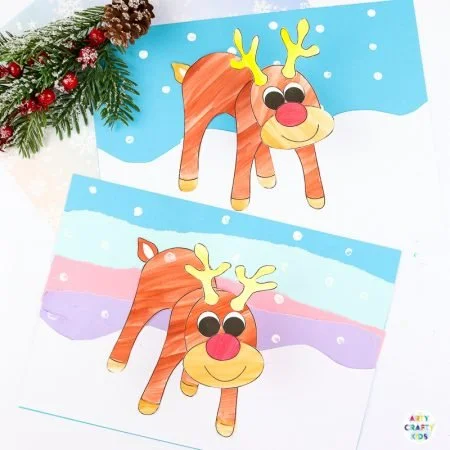
Are you looking for a fun and engaging DIY craft project? The Bobble Head Reindeer Craft from Arty Crafty Kids is a simple craft that is perfect for beginners. This holiday season, create your own delightful bobblehead reindeer using easy-to-find materials, making it a great addition to your home decor or a lovely handmade gift for friends and family.
WHY YOU WILL LOVE THIS Bobble Head Reindeer Craft
The Bobble Head Reindeer Craft is an enjoyable project that brings together creativity and festivity. Here are a few reasons why you’ll appreciate making it:
- Easy for beginners: This craft is designed for crafters of all ages and skills, making it beginner-friendly.
- Uses simple materials: Most materials can be found around your home or easily purchased, ensuring that you won’t need to spend much.
- Budget-friendly: It’s an affordable DIY project that won’t break the bank, allowing for plenty of creativity without overspending.
- Quick to make: You can create your adorable bobblehead in no time, making it a great option for busy schedules or last-minute gifts.
- Great for home decor: This delightful reindeer will brighten up your living space, adding a festive touch.
- Perfect for holidays or seasonal decorating: Use it as a holiday centerpiece or decoration during the winter season.
- Easy to customize: You can paint and decorate your bobblehead in countless ways, personalizing it to your taste.
PROJECT DETAILS
Skill Level
Beginner-friendly. This craft is perfect for anyone new to DIY projects, making it accessible for children and adults alike.
Estimated Time
Approximately 1 to 2 hours. This allows ample time for painting and drying.
Approximate Cost
Around $10 to $15. Most materials are inexpensive and available at local craft stores.
Best For
Home decor, handmade gifts, holiday crafting, and enjoyable family activities.
Project Type
DIY craft project, seasonal craft, and budget-friendly craft.
TOOLS AND EQUIPMENT NEEDED
Scissors
Scissors are essential for cutting out paper and crafting materials.
Craft Glue
Craft glue is used for attaching various elements of the reindeer, ensuring everything stays in place.
Paintbrush
A paintbrush is needed for applying paint. This can be a standard brush or a sponge brush, depending on your preferred method.
MATERIALS
plastic bottle caps
You will need plastic bottle caps that will form the head and base of the bobblehead. Their lightweight nature allows for easy bobbling.
Brown Construction Paper
This will be used to create the reindeer’s body. Brown construction paper gives a natural look to your reindeer.
Googly Eyes
Googly eyes add a fun and quirky character to your bobblehead, making it more expressive.
Pom Poms
These will serve as the reindeer’s nose and add texture to your craft.
Pipe Cleaners
Used to create antlers, pipe cleaners are flexible and easy to bend into shape.
Craft Paint
Select shades like brown, red, and white for painting the reindeer’s body and details.
Glitter (optional)
Sprinkle some glitter for a festive touch if you want your reindeer to shine.
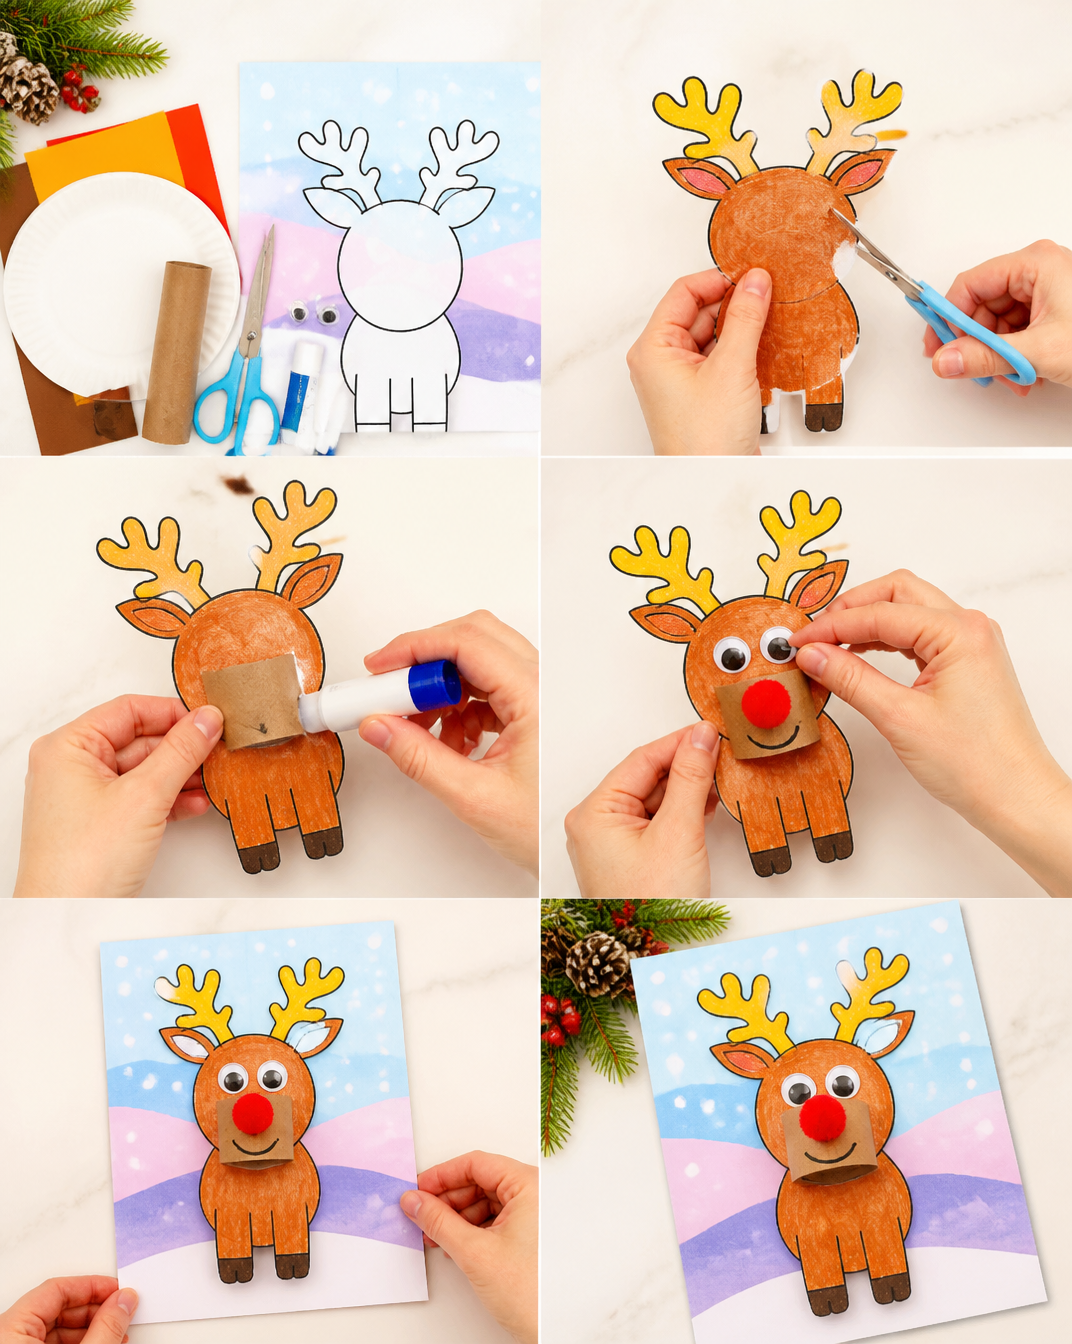
HOW TO MAKE Bobble Head Reindeer Craft
Step 1: Prepare the Base
Start by gathering your materials. Use the plastic bottle caps as the base of your bobblehead. You can use one for the head and another for the body.
Step 2: Make the Body
Cut a large circle from the brown construction paper for the body. Glue the bottle cap on top of the circle. This will be the base of your reindeer’s body.
Step 3: Create the Head
Cut a smaller circle from brown construction paper for the head. Glue another bottle cap on top of this circle. Once set, attach this head to the top bottle cap.
Step 4: Attach the Antlers
Take pipe cleaners and cut them into lengths that allow you to shape into an antler form. Secure them on top of the head with glue.
Step 5: Paint the Body
Use the craft paint to paint the body of the reindeer. Allow it to dry before adding any details like spots or decorations.
Step 6: Add Googly Eyes
Once the paint is dry, glue the googly eyes onto the head to give your reindeer some personality.
Step 7: Attach the Nose
Glue a pom pom onto the front of the head for the reindeer’s adorable nose. You can paint it red for a classic Rudolph look.
Step 8: Optional Glitter
For a festive look, sprinkle some glitter on the body while the paint is still wet, or apply glue and then sprinkle glitter for sparkle.
Step 9: Let It Dry
Allow the glue and paint to fully dry before displaying your bobblehead reindeer.
TIPS AND TRICKS
- Choosing materials: Look around your home for items like old bottle caps or scrap paper to reduce costs.
- Cutting and gluing: Take your time while cutting shapes and apply glue evenly for a neater finish.
- Avoiding common mistakes: Ensure everything is aligned before letting glue dry to prevent any wonky looks.
- Making the project easier: Pre-cut the shapes for younger crafters, or prepare paint beforehand.
- Getting a better finish: Work in thin layers with paint for a smoother application.
- Saving money: Use recyclable materials where possible, like leftover boxes or wrapping paper.
- Working safely: Be cautious with scissors and hot glue; work in a well-lit area.
VARIATIONS AND CUSTOMIZATION IDEAS
- Different colors: Use other shades of construction paper to customize your reindeer’s look.
- Different sizes: Create larger or smaller reindeer by varying the bottle cap sizes.
- Different materials: Try felt or fabric instead of paper for a different texture.
- Seasonal versions: Make Santa, snowmen, or even festive elves to pair with your reindeer.
- Different patterns: Use patterned paper for a unique look.
- Personalized versions: Write names on the body to customize for gifts.
Bobble Head Reindeer Craft FAQ
Is this craft suitable for children?
Yes, this is a beginner-friendly craft that children can enjoy with adult supervision.
How long does it take to complete the bobblehead?
The project usually takes about 1 to 2 hours, including drying times.
Can I use different materials for the nose?
Absolutely! You can experiment with felt, buttons, or anything else you have on hand.
How should I store my finished craft?
Store the completed bobblehead in a dry, safe place, preferably in a box to avoid damage.
Is it easy to clean if it gets dirty?
You can wipe the bobblehead with a damp cloth; avoid soaking it to maintain its shape.
CONCLUSION
The Bobble Head Reindeer Craft is a fantastic way to get into the holiday spirit with an easy and fun DIY project. It’s perfect for all ages, budget-friendly, and can become a cherished part of your festive decor. Whether you keep it for yourself or gift it to a loved one, creating this clever little bobblehead is sure to bring joy. So gather your materials and start crafting today! Don’t forget to share your experience and finished projects with us!