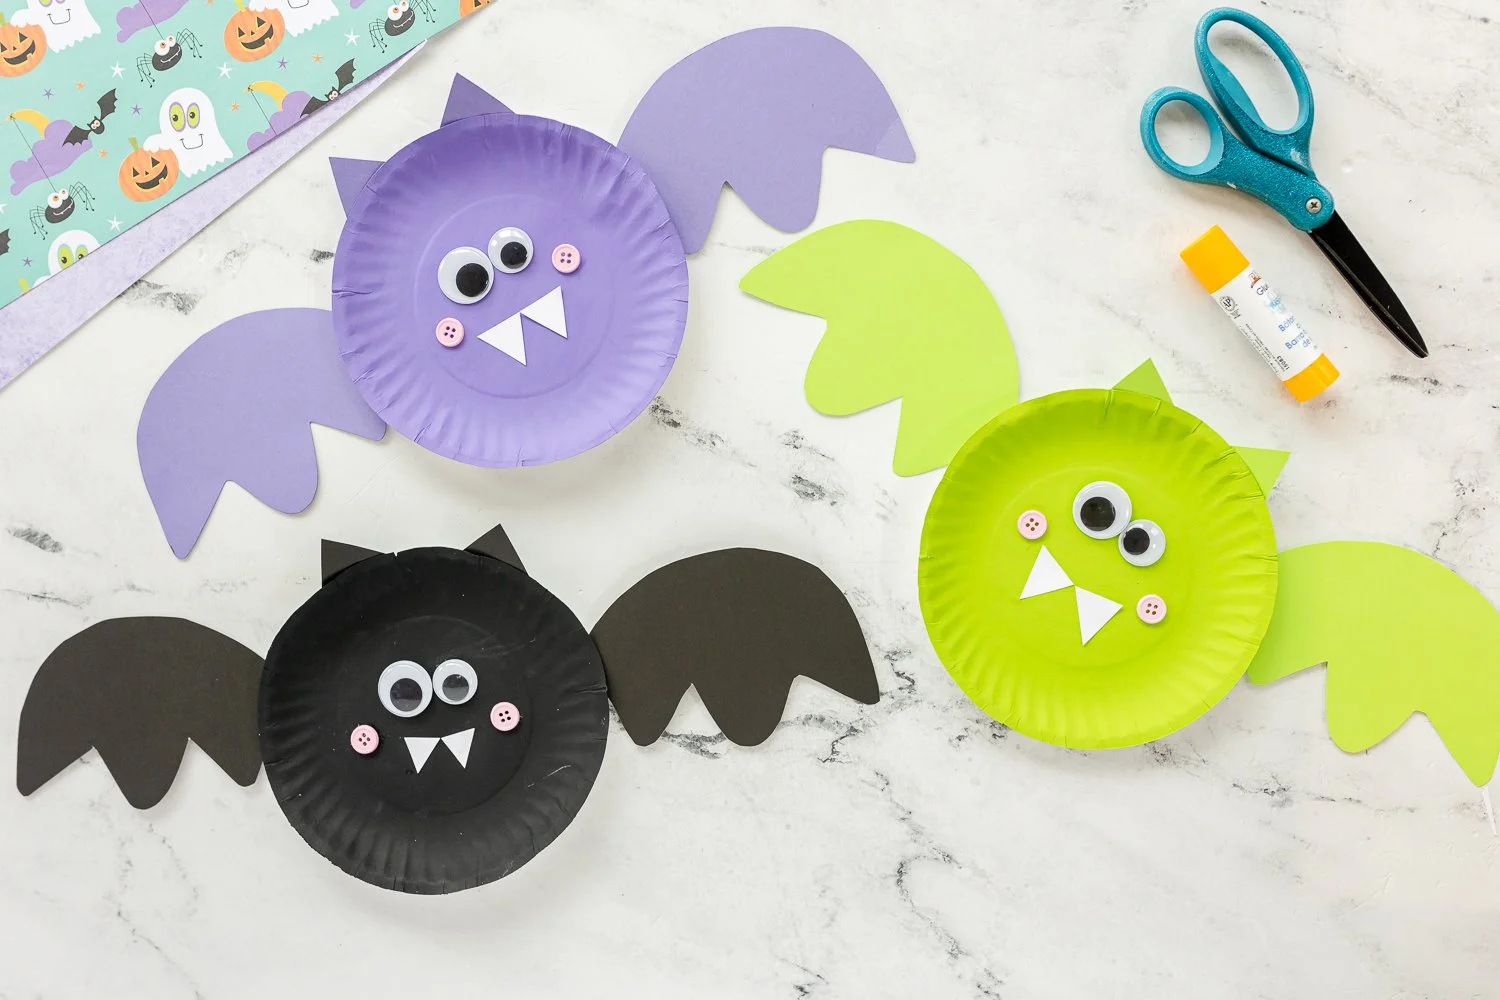
Creating a paper plate bat is a delightful and simple craft that offers a fantastic opportunity for creativity without breaking the bank. This easy DIY project is perfect for beginners, making it a great choice for family activities, school projects, or just a fun weekend at home. Not only will you have a lovely homemade decoration, but it’s also a great way to learn some basic crafting skills. Let’s dive into the steps and details of this fun craft: the Paper Plate Bat.
WHY YOU WILL LOVE THIS Paper Plate Bat
Making a paper plate bat is an enjoyable experience for crafters of all ages. Here are some reasons you will love this easy craft:
- Easy for Beginners: This project does not require advanced skills, making it accessible for anyone.
- Uses Simple Materials: Most of the materials needed are likely already in your home.
- Budget-Friendly: The cost of materials is minimal, offering a great DIY decoration idea that won’t hurt your wallet.
- Quick to Make: You can complete this project in about an hour, perfect for quick seasonal fun.
- Great for Home Decor: The finished bat can be used as a Halloween decoration or as part of a themed party.
- Easy to Customize: You can personalize the bats in various ways, including color and size, adding your unique touch.
PROJECT DETAILS
Skill Level
Beginner. This craft is very approachable, making it suitable for all skill levels.
Estimated Time
About 30-60 minutes. This includes preparation, crafting, and drying time for any glue or paint used.
Approximate Cost
Under $10. The materials are inexpensive and often found around the house.
Best For
Kids and families. This is a fun craft for children with adult supervision, making it a great family activity.
Project Type
Seasonal craft. This craft is perfect for Halloween or other festive occasions.
TOOLS AND EQUIPMENT NEEDED
Scissors
Used for cutting the paper plate into the desired bat shape.
Glue
A basic craft glue will work, but you can also use a hot glue gun for quicker adhesion.
Paintbrush (optional)
If you’re using paint, a paintbrush will help with even application.
Pencil
Use it to outline the shapes you want to cut or draw before making permanent marks.
MATERIALS
Paper Plates
These serve as the base for creating the bat’s body and wings.
Black Paint (or Black Marker)
This is used to color the bat, giving it that classic look.
Googly Eyes (optional)
Adding googly eyes can give your bat a fun and playful expression.
Cardstock or Construction Paper
You might use this for additional decorations, such as wings or ears.
String (optional)
This could be used for hanging the bat as a decoration.
Glitter (optional)
For a little extra sparkle, glitter can be sprinkled on before the paint dries.
HOW TO MAKE Paper Plate Bat
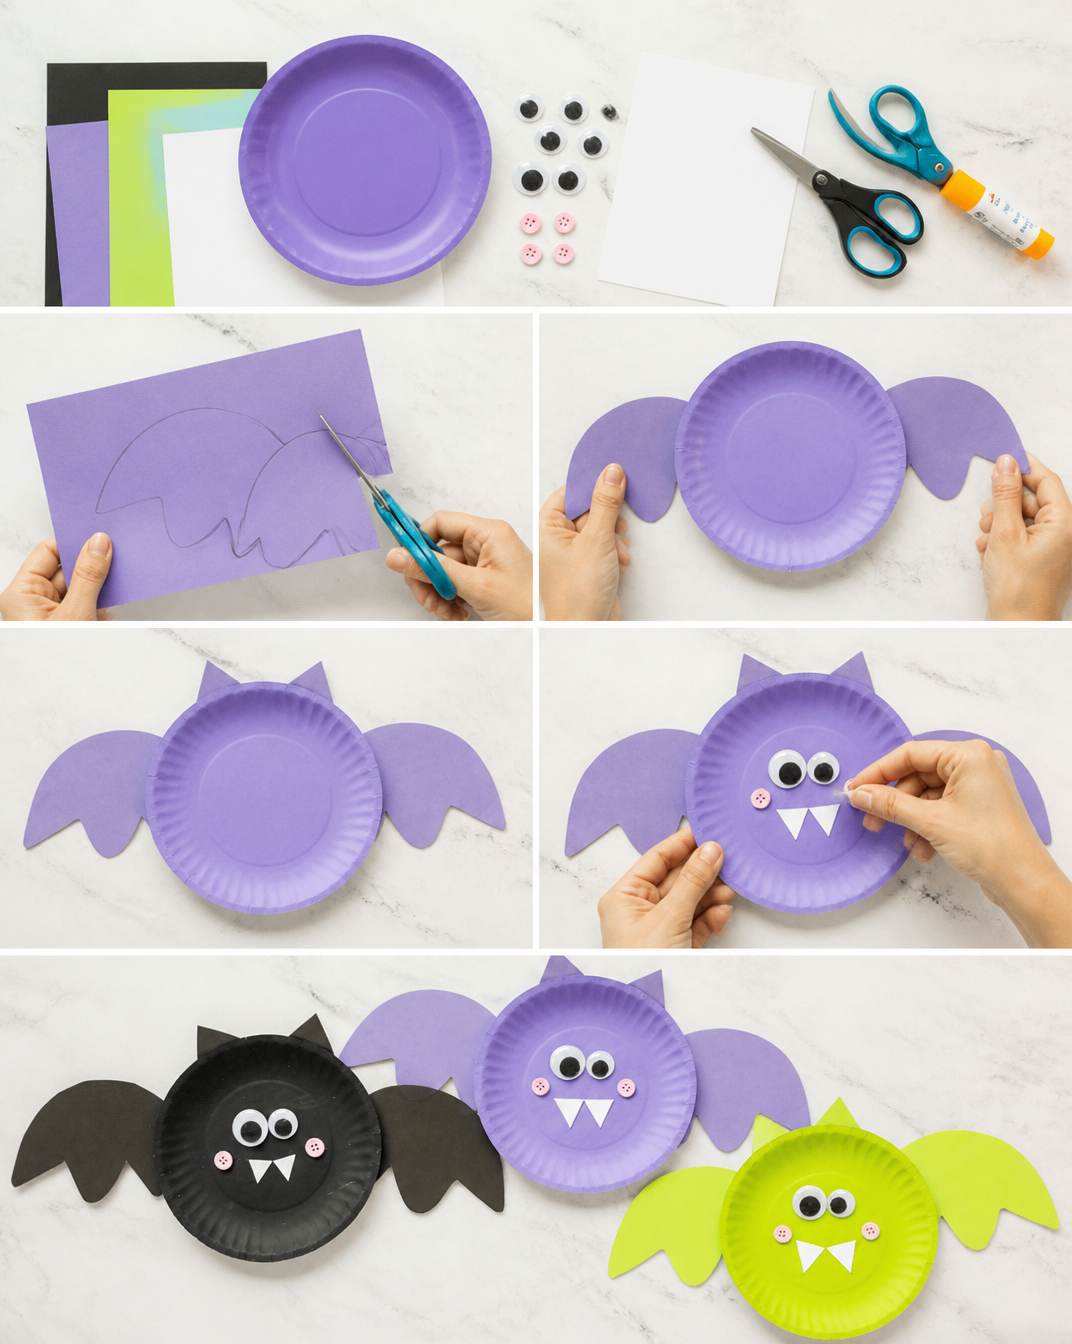
Step 1: Prepare Your Workspace
Start by finding a clean, flat area to work. You might want to cover the surface with newspaper or an old cloth to protect it from paint or glue.
Step 2: Cut the Paper Plate
Using your scissors, cut the paper plate in half. Take one half and cut it to form the bat wings. Aim for a triangular shape at the ends to give it that bat-like appearance.
Step 3: Paint the Plate
Using black paint or a black marker, cover the entire paper plate piece to create the body of the bat. Make sure to paint the edges too. If using glitter, sprinkle it on while the paint is still wet.
Step 4: Attach the Wings
Once the paint is dry, take the cut wings and glue them to the back of the bat’s body. Position them so that they stick out at an angle, giving the bat its unique shape.
Step 5: Add Eyes
If you’re using googly eyes, glue them onto the bat’s head. You can also draw eyes with a white marker for a personalized touch.
Step 6: Finishing Touches
You can cut out ears from cardstock or construction paper, paint them black, and glue them to the top of the plate. If desired, attach a piece of string to hang your bat as a decoration.
TIPS AND TRICKS
- Choosing Materials: Opt for sturdy paper plates. If you’re using lighter plates, be gentle while cutting and painting.
- Cutting: Take your time while cutting shapes to avoid any accidents, especially with children involved.
- Gluing: Allow enough drying time for glue to hold everything firmly in place. Hot glue will dry faster but can be hot to touch.
- Finishing: For a cleaner look, consider painting in layers, allowing each layer to dry before adding the next.
- Storing: Store finished bats flat to prevent bending or breaking. If you hang them, make sure they won’t get crushed.
VARIATIONS AND CUSTOMIZATION IDEAS
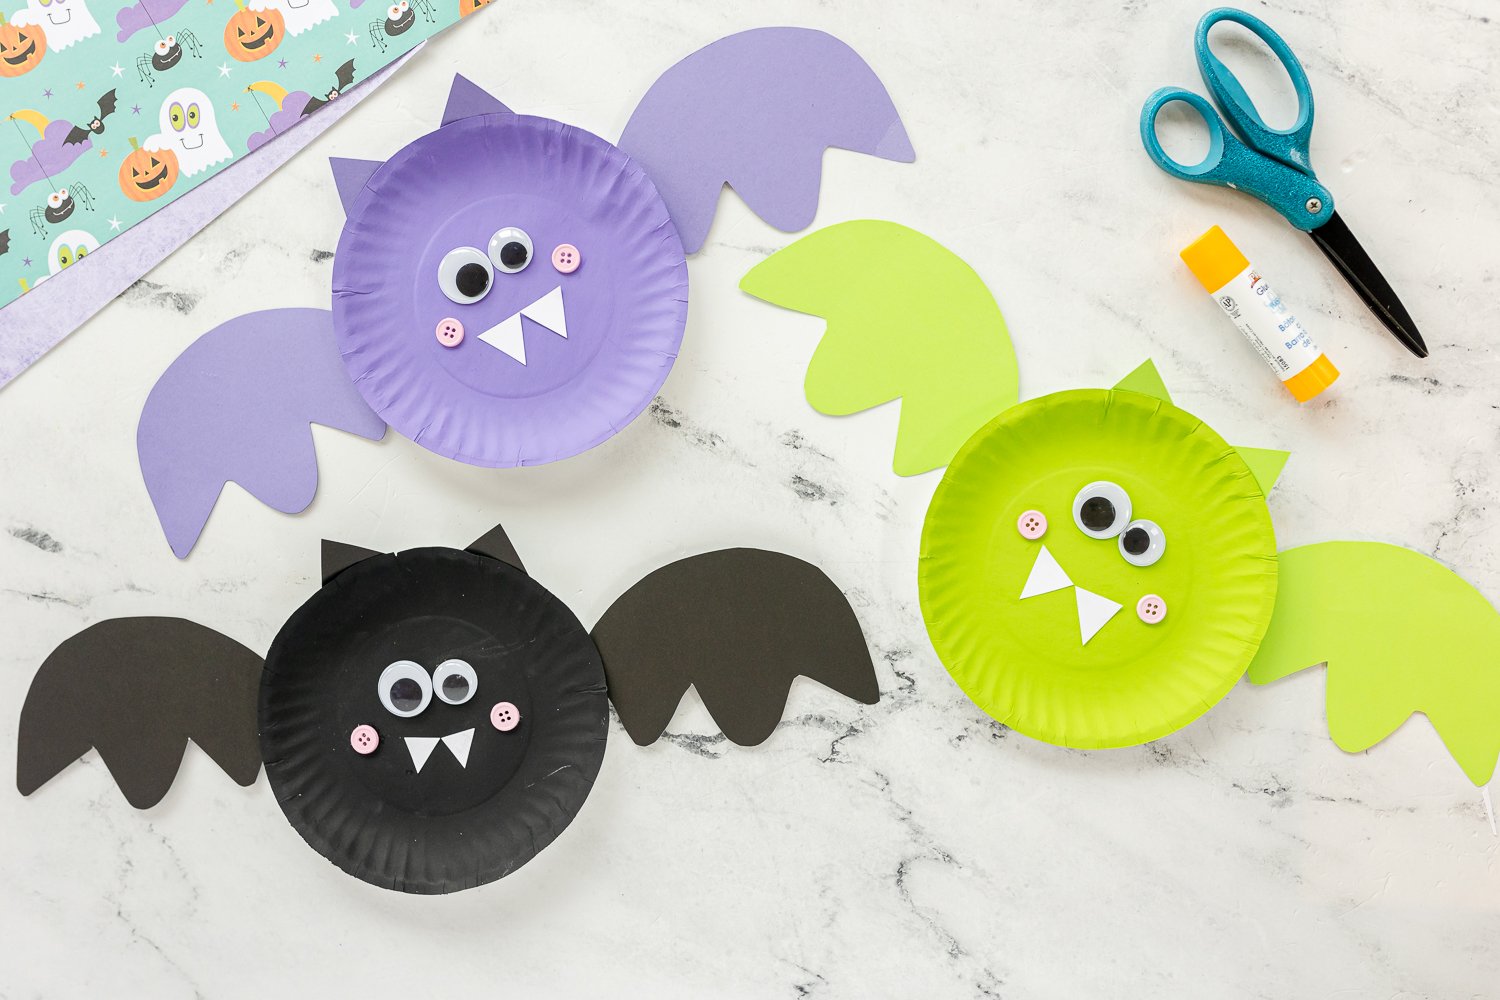
- Different Colors: Experiment by using various colors along with the classic black for a unique look.
- Seasonal Versions: Create bats with bright colors for themed events or traditional Halloween colors for spooky vibes.
- Different Sizes: Use larger plates for bigger bats or smaller ones for cute mini bats.
- Patterns: Add stripes or polka dots to the wings for a creative twist.
- Personalized Versions: Let each family member make their bat and decorate it to reflect their personality.
Paper Plate Bat FAQ
1. How hard is it to make a paper plate bat?
Creating a paper plate bat is a beginner-friendly craft. It requires basic cutting and gluing skills, making it suitable for kids with adult supervision.
2. What materials do I need for this craft?
You’ll need paper plates, black paint or marker, glue, scissors, googly eyes (optional), cardstock for ears (optional), and string for hanging if desired.
3. How long does it take to make a paper plate bat?
This craft can be completed in about 30 to 60 minutes, depending on the drying time for paint and glue.
4. How should I store my finished bat?
Store your finished bats flat in a cool, dry place to prevent them from bending or breaking. If they are hung, ensure they are securely attached.
5. Can I customize my bat?
Absolutely! You can use different colors, add patterns, create various sizes, or even attach different decorations to personalize your bat according to your theme.
CONCLUSION
Making a paper plate bat is a fun, easy, and budget-friendly DIY project that is perfect for crafters of all skill levels. This simple craft not only allows for creativity but also offers a chance to create festive decorations suitable for any Halloween gathering or themed party. With its quick assembly and countless customization options, it’s a great way to engage with friends and family.
We hope you give this DIY project a try! Feel free to share your homemade creations, experiences, or any unique variations you come up with. Happy crafting!